

You pull a favorite graphic tee out of the laundry, and the print looks a little duller than last week. Maybe the edges are starting to crack, maybe the colors feel flattened, or maybe the shirt still smells clean but looks tired. That's usually the point where people realize how to wash graphic tees matters just as much as how they style them.
The good news is that tee care doesn't have to be fussy. The right routine keeps the print sharp, helps the fabric hold its shape, and cuts down on waste from over-washing and replacement buys. That matters whether the shirt is a daily staple, a collectible streetwear piece, or something you might resell later.
Table of Contents
- Caring for Graphic Tees Made Easy
- Prewashing Prep for Print Preservation
- Machine Washing Versus Hand Washing
- Drying Ironing and Storage Strategies
- Troubleshooting Common Laundering Issues
- Conclusion and Best Practices for Longevity
Caring for Graphic Tees Made Easy
A lot of great tees lose the battle in the first few laundry runs. The shirt comes out of a hot, crowded wash, gets tossed in the dryer, and the print starts looking worn before the rest of the fabric is even broken in. That is a rough outcome for something chosen for the design as much as the fit.
Why the gentle routine works
The simplest care rule is also the most reliable one, cold water, fewer wash cycles, and less friction. A graphic tee does not need a harsh cleaning setup unless it is dirty, and that lighter approach also supports lower energy use because cold water and fewer cycles reduce strain on the washer and the power bill, according to the care guidance cited by Clotheslyne (cold-water graphic tee guidance). That is a better trade than blasting a shirt with heat just to save a few minutes.
Practical rule: treat the print like a surface layer, not like plain cotton. Heat and abrasion attack that layer first.
That is why the baseline for how to wash graphic tees keeps circling back to the same ideas. Use cold water, avoid over-washing, and stop treating every shirt like a gym towel. If you care about resale value, that matters even more, because streetwear buyers notice print condition fast. A tee with a sharp graphic, clean edges, and no cracking holds its appeal longer, which helps both style preservation and sustainability.
What ruins a graphic
Hot water, bleach, rough agitation, and overloaded loads are the usual suspects. The print cannot move freely when the drum is packed, so it rubs against zippers, seams, and the washer wall. That is where fading, peeling, and cracking start.
The best mindset is simple, wash for preservation, not punishment. If the shirt only smells lightly worn, airing it out between wears is often smarter than forcing another full wash. That does not just help the graphic, it also helps the shirt stay presentable longer, which is the whole point when the design is part of the value.
Prewashing Prep for Print Preservation
Before the water starts running, the prep work decides how much abuse the tee takes. A black tee with a bright front print shouldn't get washed the same way as a light shirt with a small chest logo, and a heavier vintage-style blank behaves differently from a thin fashion tee. Sorting first keeps colors from migrating and keeps the washer from turning into an abrasion chamber.
Sort first, then protect the print
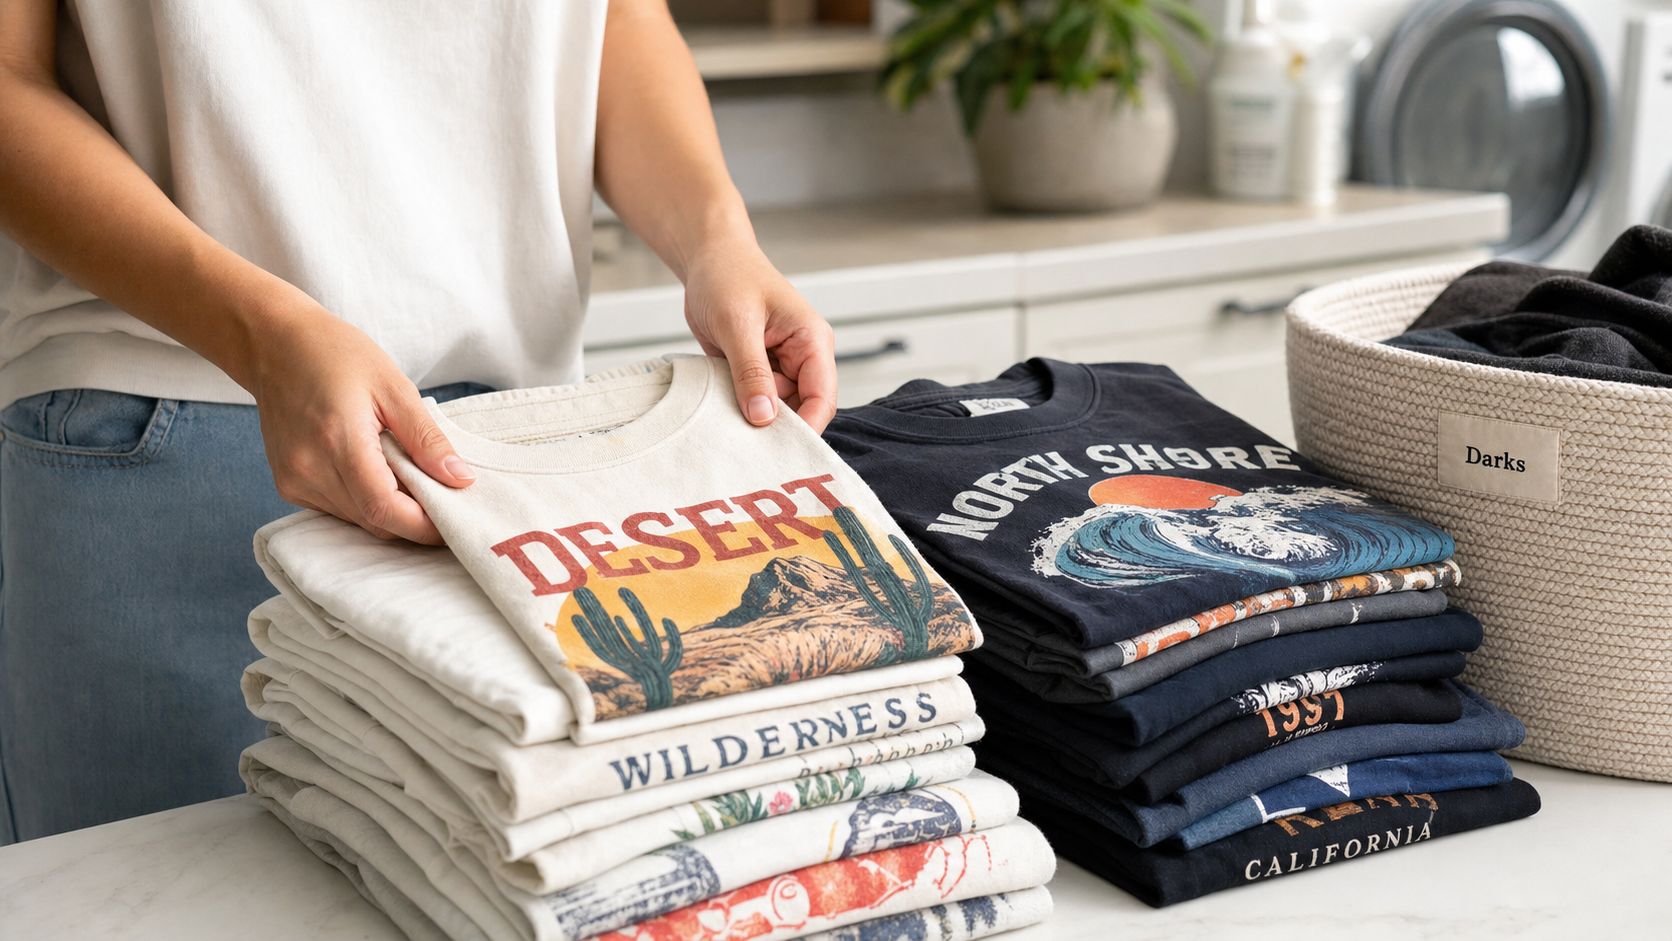
Start by grouping tees by color and fabric weight. Dark shirts with bold prints should stay away from light garments, especially anything with zippers, Velcro, or rough trims. Those hard surfaces are exactly what a print doesn't want rubbing against it.
Turn each shirt inside out before it goes anywhere near the machine. That one move shields the visible print from direct contact with the drum and with other garments. The same protective wash sequence is repeated across garment-care guides, cold water, gentle cycle, and an unoverloaded load, because the less the print scrapes, the longer it holds up (highest-protection wash workflow).
Handle stains without touching the artwork
If a shirt has a stain, pre-treat the fabric itself, not the print. Dab the stained area on the inside of the tee or on the plain cotton around the mark, then let the cleaner work before washing. Scrubbing over the graphic is a fast way to lift ink or create a shiny worn spot.
Keep stain treatment local. The goal is to clean the shirt, not to rewrite the artwork.
If you're dealing with different kinds of tees, use common sense. Screen-printed shirts usually need the most print protection, while digitally printed shirts can still be sensitive to heat and friction. Either way, inside-out washing and light load management stay useful because they reduce the wear that shows up first on the graphic layer.
Machine Washing Versus Hand Washing
A graphic tee can handle the machine, but only if you treat the cycle like preservation, not punishment. Hand washing gives you more control over friction, yet it asks for more time and a little more patience. The right choice comes down to how valuable the shirt is, how dirty it really is, and how much wear you're willing to accept to save a few minutes.
The machine routine that protects prints
Machine washing works well when you keep the whole process calm. Use cold water, 30°C or lower, set a gentle or delicate cycle, and leave room in the drum so the shirt can move without grinding against everything else. Teenetwork's care guidance points to a lightly filled machine, about 75% full, so the tee has space instead of getting slammed around (graphic tee care basics).
Detergent choice matters too. Mild, color-safe detergent is the safer move, while bleach and harsh additives speed up fading and put more stress on the print. The same basic wash setup keeps showing up in care advice, cold water, gentle detergent, no bleach, no fabric softener, and air-drying (graphic tee washing guidance). That approach sounds plain, and that is exactly why it helps preserve the artwork and the shirt's resale appeal.
A simple machine-wash checklist:
- Turn it inside out: Reduce direct rubbing on the print.
- Use cold water only: Keep thermal stress low.
- Choose a gentle cycle: Cut down on harsh movement.
- Load lightly: Give the shirt room to move.
- Skip bleach and softener: Protect both print and fabric.
If the tee is a rare drop, a tour shirt, or a piece you want to keep sharp for resale, the machine still works if you keep the cycle gentle. The primary mistake is trying to wash harder because the shirt matters more.
When hand washing is worth the extra effort
Hand washing gives you the most control over friction, which is the part that usually ages prints first. A basin of cold water and a small amount of mild detergent is enough for lightly soiled tees, and a soft swish is better than any rough scrubbing. Do not wring the shirt hard, because twisting can stress the print and pull the cotton out of shape.
Best use case: hand wash when the tee is especially valuable, lightly dirty, or printed with a design you do not want to gamble with.
Rinse until the detergent is fully out so residue does not dry into the fibers. After that, press out water gently instead of twisting the shirt into a rope. The trade-off is obvious. Hand washing takes more time, but it is often the safer choice when you care more about keeping the graphic clean and collectible than about convenience.
Drying Ironing and Storage Strategies
Washing is only half the job. A tee can come out of a perfect wash and still get ruined by high heat, careless hanging, or a hot iron pressed straight onto the design. Many good habits are quickly undone during these final stages.
Dry it without cooking the print
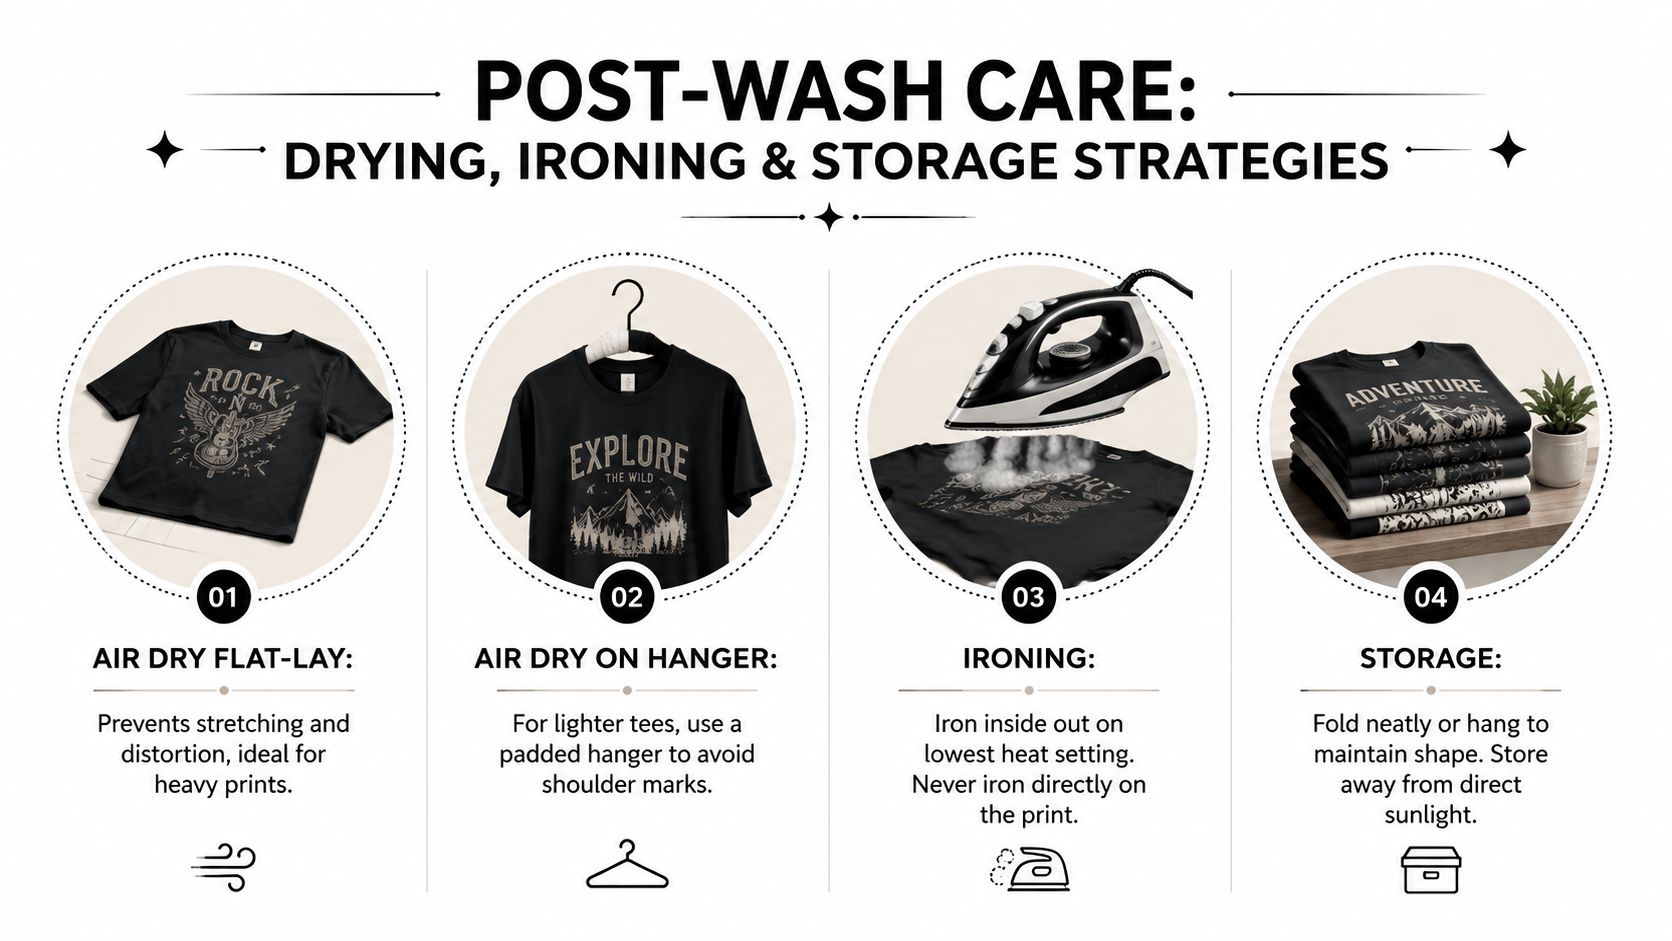
Air-drying is the safest route. Flat-lay drying works best for heavier tees or dense prints because it prevents stretching, while a padded hanger is fine for lighter shirts that won't sag. Keep the shirt out of direct sunlight when possible, since harsh light can age the colors over time.
The worst move is a high-heat dryer cycle. Heat can stress the adhesive or print layer and push cracking along faster, especially if the shirt was already washed roughly. If you have to use a machine dryer, keep it as low and as brief as possible, then finish by air-drying the rest of the way.
Iron the fabric, not the artwork
If a tee needs ironing, turn it inside out and use the lowest heat that still smooths the cotton. Never drag the iron directly over the print. If the wrinkles are stubborn, place a protective cloth between the iron and the shirt, then use light pressure instead of pressing hard.
Storage matters too. Fold the shirt neatly if you want to keep the shoulders from stretching, or use a hanger that won't leave marks. Breathable storage is better than stuffing tees into a tight drawer where creases set deep and prints get rubbed by other garments.
A simple rule helps here:
If heat isn't necessary, skip it. Every extra degree and every extra squeeze shortens the life of the graphic.
For streetwear fans, this isn't just about looking tidy. Good drying and storage keep the shirt wearable, photographable, and worth more if you ever decide to pass it on.
Troubleshooting Common Laundering Issues
Even with good habits, things still go wrong. A print can start flaking at the corners, a dark shirt can show detergent marks, or a tee can come out stiff because the wash cycle was too heavy-handed. The fix is usually smaller than the problem looks.
Common mistakes and fast fixes
- Cracking at the print edges: Stop using hot water and high heat, then move to inside-out cold washing and air-drying. Once cracking starts, the main goal is slowing further wear.
- Color bleed: Wash similar colors together next time and avoid overloading the machine. Bleed usually gets worse when dark and light garments share a crowded load.
- Residue on the fabric: Rinse more thoroughly and reduce detergent next time. Heavy soap use can leave film that makes a tee look dull.
- Print rubbing or peeling: Check for zippers, Velcro, and rough items in the load. Those surfaces are hard on artwork and should stay out of the same wash.
What not to reach for
Bleach is the obvious no. Harsh stain removers over the graphic are another bad idea, and so is scrubbing the print with a brush. If a stain sits right on the design, treat the surrounding fabric carefully and accept that some marks are better left alone than “fixed” into damage.
Minor flaking doesn't always mean the shirt is done. It often means the wash routine got too aggressive, and the next load is your chance to correct course. The best repair is prevention, because once the print layer starts breaking down, you're only managing the damage, not reversing it.
Conclusion and Best Practices for Longevity
The best routine is simple enough to repeat every time. Wash graphic tees inside out, use cold water, keep the load light, skip bleach, and air-dry whenever you can. Those habits protect the print, reduce unnecessary wear, and help the shirt keep its value longer.
That's the payoff for streetwear fans. A tee that stays vibrant looks better on body, photographs better, and holds up better if you ever decide to resell it or rotate it out of your closet. Small laundry discipline goes a long way.
Keep your favorite graphics sharp, share these care habits with the people who wear the same pieces you do, and treat every wash like part of the shirt's life cycle. For more streetwear staples that deserve better care, check out Trending Market.